This is a quick tour of some of Easy Data Transform's features. It should only take a few minutes to complete.
Start Easy Data Transform.
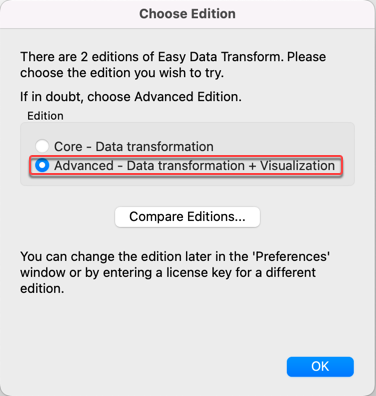
If the Choose Edition window appears, leave the edition as Advanced and click OK.
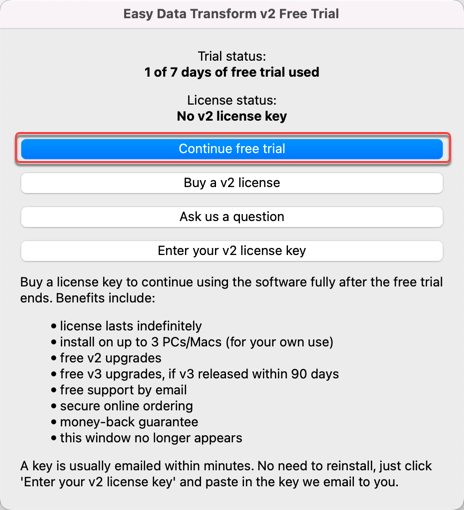
If the Free Trial window appears, click Continue free trial.
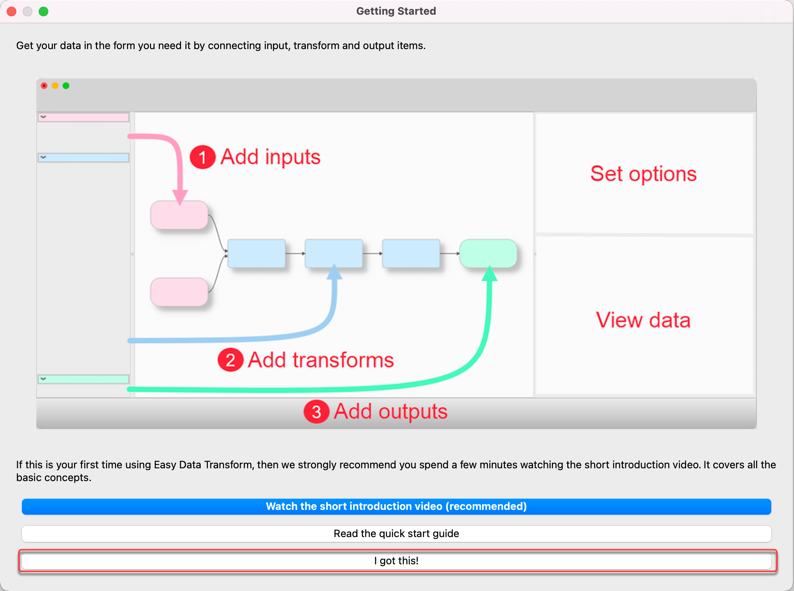
If the Getting Started window appears, click I got this!
You should now see the main window.
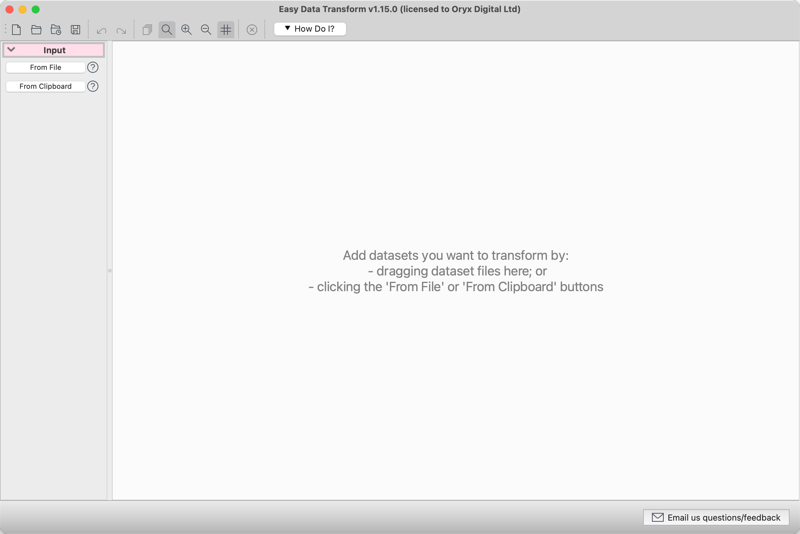
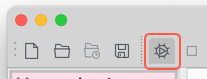
Make sure that Auto Run tool bar button is checked (pressed in), so that any changes you make are processed automatically after a short delay.
Download 2 example data files from our website by clicking these 2 links:
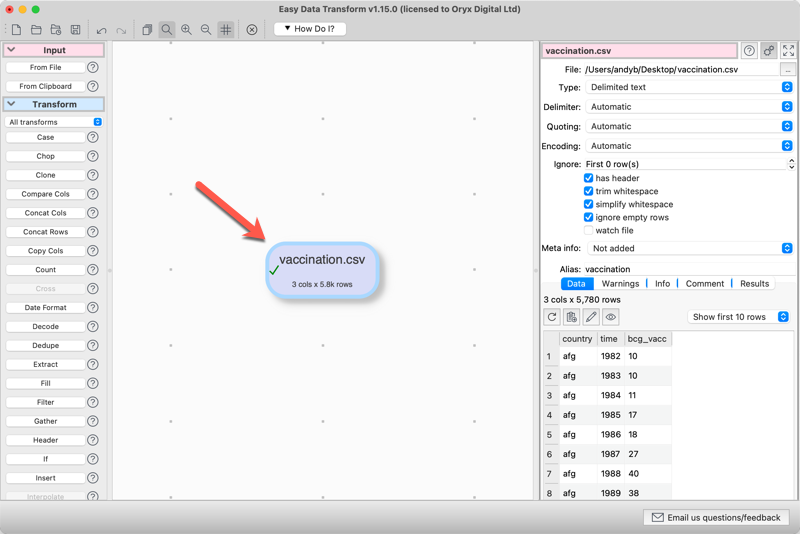
Drag mailout1.csv from your download folder onto the Center pane of Easy Data Transform.
Close the How To Add Transforms window that appears.
Notice that the available transforms are shown in the Left pane and the selected dataset is shown in the Right pane.
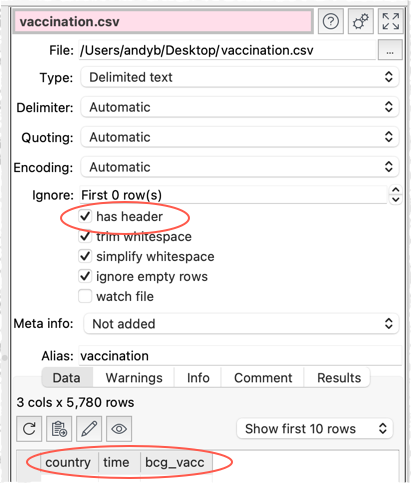
In the Right pane, you can check has header, depending on whether you want to treat the first row of the dataset as a header. For some input formats, such as JSON and XML, the header is added automatically.
Hover over the transforms in the Left pane to see tooltips explaining what they do. Click on the ? next to a transform button for more details.
Note that the emails in the dataset Email column have a mix of upper and lower case. Lets fix that.
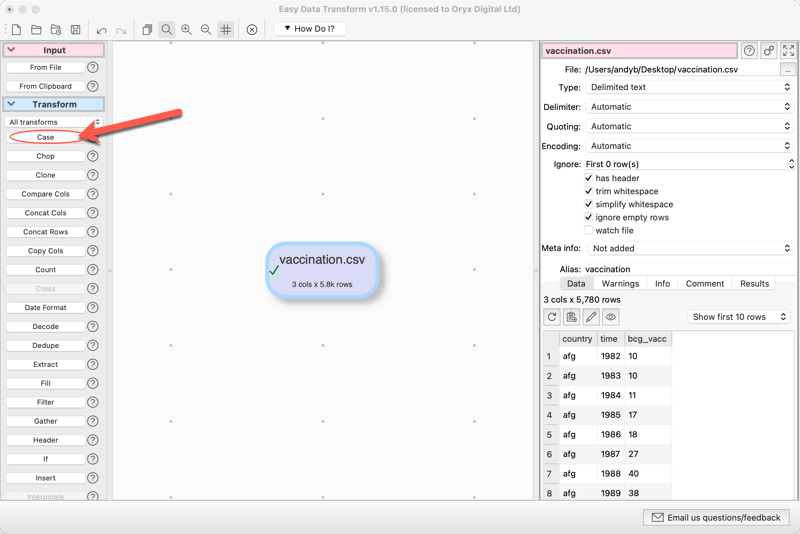
Ensure the input item is selected and click on the Case transform button to add a Case transform.
A Case transform item will now be added.
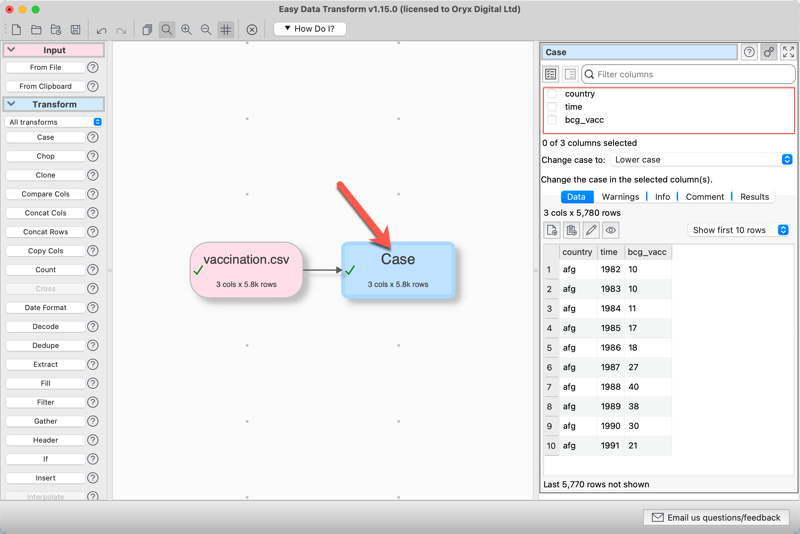
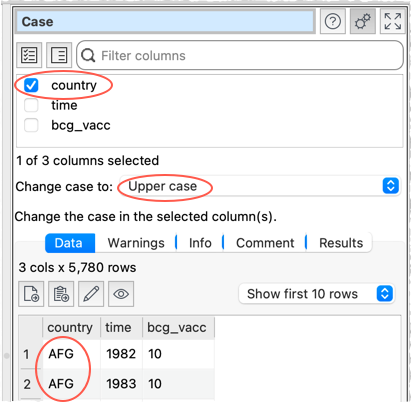
In the Right pane, check the Email column and set Change case to to Lower case. The transformation will be carried out as soon as you have stopped making any change in the Right pane for 2 seconds (you can change this in the User Interface tab of the Preferences window).
Note that we have only changed the dataset in memory. We have not modified the input file.
You can add more transforms in a sequence of transforms to perform complex manipulations, step by step.

Some transforms require more than one upstream dataset. For example, to stack two datasets, one on top of the other (vertically):
•Select File>New to start again. Don't save the changes.
•Drag mailout1.csv and mailout2.csv files onto the Center pane.
•Select both input items (by dragging a box around them or using Cmd+click).
•Click the Stack transform button (you may need to scroll down the Left pane to see the button).

The tables are now stacked one on top of the other in a new dataset item. You can choose to match the columns by Header name or Column number. Because both files have the same headers, it doesn't matter here.
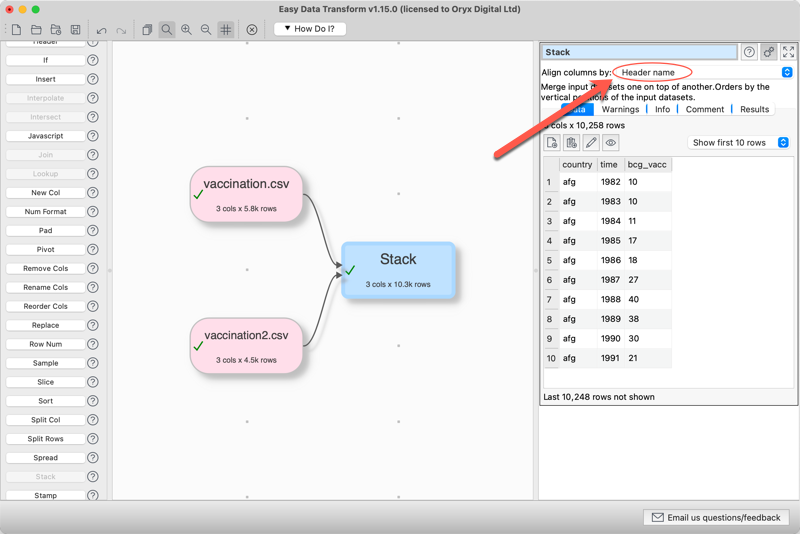
Note that the vertical (Y) position of the inputs affects the order the datasets are stacked. Try swapping the two inputs around and re-select Stack to see the effect.
Any changes to input options will cause the input file to be automatically re-read. Any changes to upstream datasets or transform options will be automatically propagated 'downstream'.
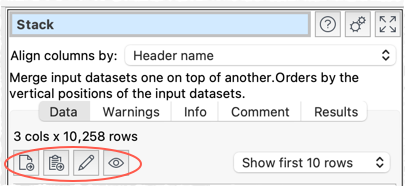
To export your transformed dataset to a file or the clipboard, view it in a local editor or see it with whitespace displayed, click on the appropriate button in the Right pane.
You can also add an output item to automatically write a dataset to file whenever it changes. With the Stack item selected, click To File at the bottom of the Left pane. You may need to scroll down to see it.
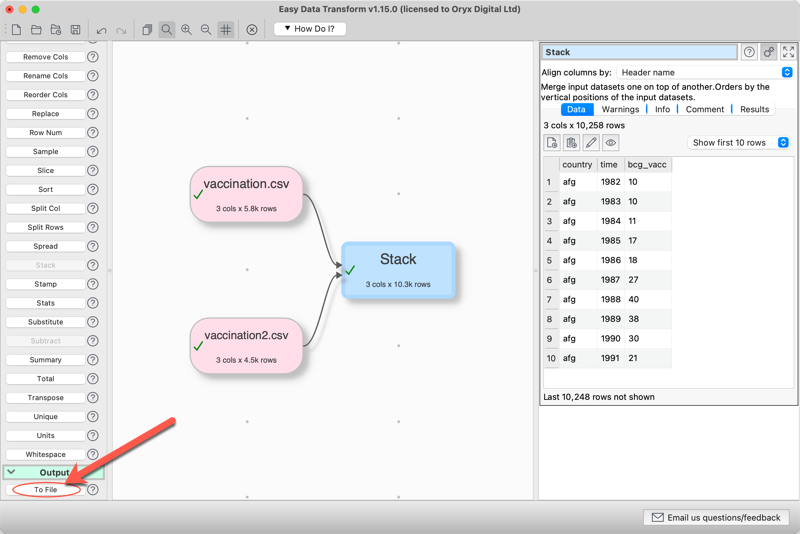
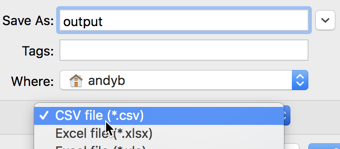
You will be asked for a file to write to. Choose a convenient location, such as the Desktop folder, and select CSV file.
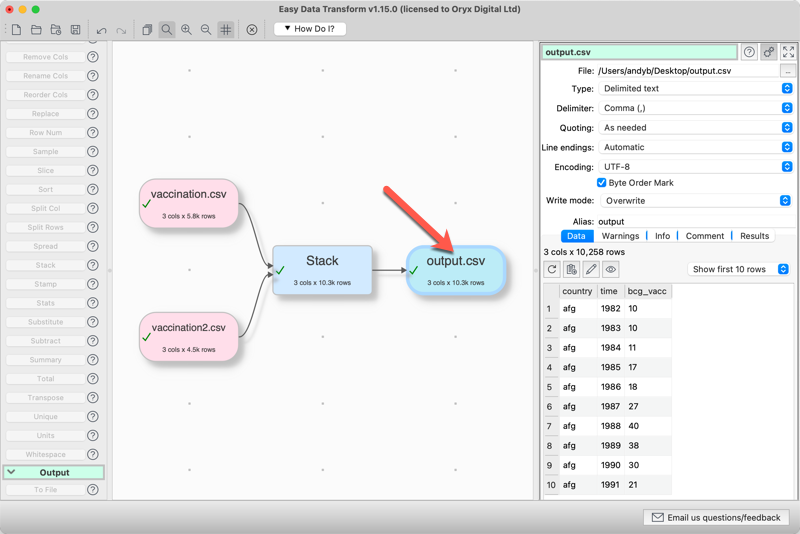
Your dataset will then be written to this file every time it changes.
You can save your transforms to a .transform document to use again with File>Save.
Have a play!
Tips:
•You can also watch a short introductory video.
•You can input a folder of files using the From Folder button in the Left pane.
•You can paste in data from the clipboard (for example, a table from a web page or Word document) using the From Clipboard button in the Left pane.
•Check the show advanced check box in the Left pane to see all the available transforms.
•Transforms such as Compare Cols, Filter, If and Sort take account of dates, numbers and text. You can define what date formats to recognize in the Preferences window.
•New columns are always added to the right of a dataset.
•Comparisons of text are sensitive to case, unless stated otherwise. E.g. "CASE", "case" and "Case" are treated differently.
•Comparisons of text are sensitive to whitespace (e.g. spaces and tabs), unless stated otherwise. You can use the Whitespace transform to remove unnecessary whitespace.
•The contents of input and output data files are not saved in an Easy Data Transform .transform file, only their locations.
•As well as stacking two datasets, you can also Join them, side-by-side, by a common ('key') column or row number.
•You can insert a new transform between existing items by selecting the connection between the items and then clicking the transform button in the Left pane.
•The Advanced Edition of Easy Data Transform has powerful visualization capabilities.
•To be more productive with Easy Data Transform see the expert tips.
We are interested in your feedback, so please contact us to ask a question, report a bug or request an enhancement.